

How To Draw A Book? An Easy Step-by-step Tutorial
Looking for your next creative muse? You don’t need to look very far. You can find some of the best drawing subjects lying around your house. For instance, books are wonderful objects to depict in a drawing. Even though it seems challenging, you can learn to draw this subject with ease if you take a step-by-step approach.
Please read on.
Table of Contents
Book Drawing Supplies
For this tutorial I used the following supplies:
- Paper, sketchbook or draw it in your bullet journal
- My favorite drawing pens: Pigma Micron Pens
- Lead Pencil
- Eraser
How To Draw A Book Step-By-Step Tutorials
Our simple step-by-step book drawing tutorials are provided below.
I prefer using my Micron drawing pen for doodles like these because it uses archival ink, which means that it is waterproof and doesn’t bleed through paper, making it safe to use in bullet journals.
Draw A Closed Book
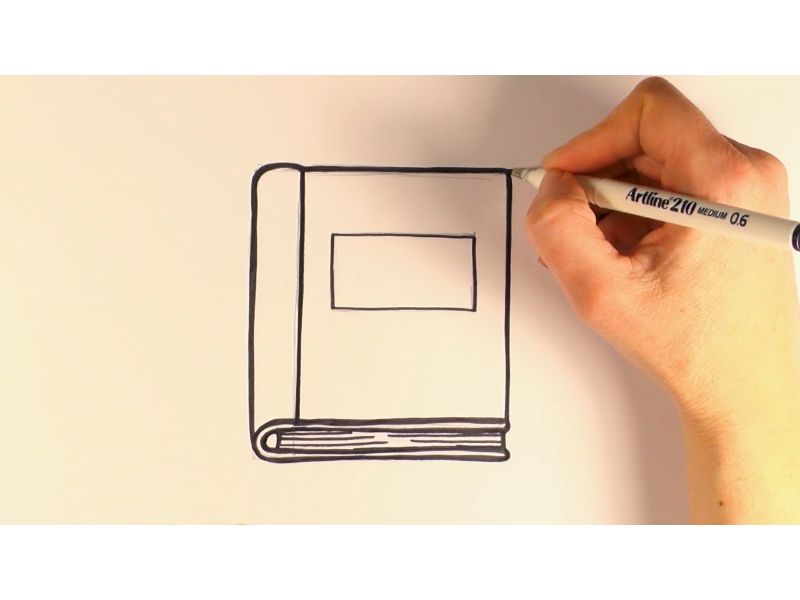
- Make a right-angled rectangle. From the rectangle’s vertices, draw straight lines. There must be a consistent length between each vertical line.
- As the vertices of the second rectangle, draw another rectangle using the tips of those vertical lines.
- Connect the upper and lower rectangles at their corners by drawing four concave to the right curves.
- At the upper rectangle’s center, draw a tiny rectangle. To show that the pages are bound, draw straight lines around the edges.
- Refine, then use a pen to trace, and then remove extra lines.
- Color to your liking!
Draw A Book Cover
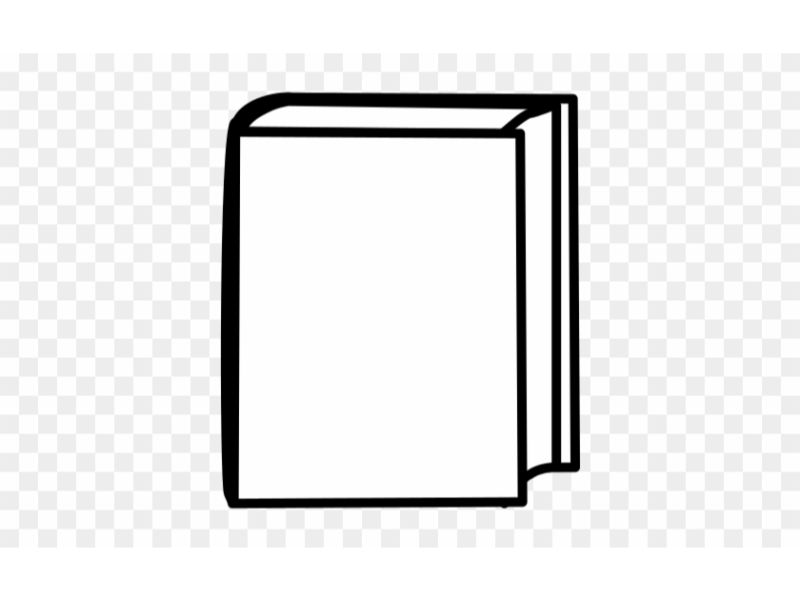
Drawing a horseshoe is the first step. This needs to be at an angle.
Next draw a slim rectangle for the spine, remembering the curves at the top.
Then draw another rectangle for the book cover.
Add the final information, including the title, spine information, and page numbers.
Draw A Book Standing Up

Draw a set of lines that will eventually be the book spines. A shared line for the spines of two books should be used, so make sure they are different heights for interest.
Next, add the small curved lines that will be the top of the books. The bottom of each book should be treated similarly.
Add finishing touches to the book spines. You are able to include titles, lines, and shapes.
drawing instruction manuals.
Draw A Book Open
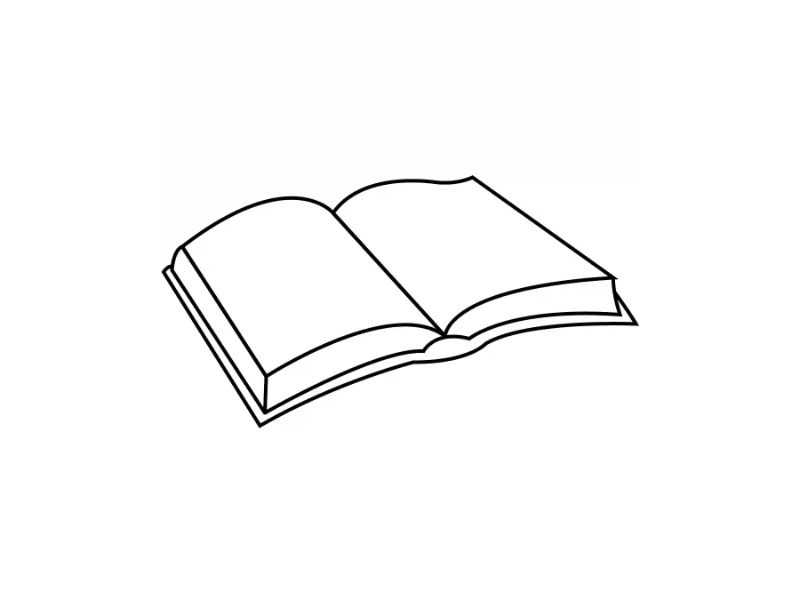
Drawing a book open looks a little more complicated but it is just as simple.
Create two rectangles by drawing a line through the middle of the book. To create the appearance of an open book, make the top and bottom lines curved.
Draw a few small lines at the bottom of the pages to represent pages.
the front and back covers next. This is just a large rectangle set behind the doodles you have already made. I like to slightly darken the edges to make it stand out.
Lastly, include a cute bookmark.
Draw A Stack Of Books
It is equally simple to draw a stack of books.
First, decide how many books you would like in your stack, and starting from the bottom draw an elongated U on its side. Then repeat this for however many books you desire.
To represent the pages, draw an indented line at the top of each U.
The covers and spine come next. Three lines are required for the top book. Two come from the curve of the U for the spine and one from the top for the book cover. Make the final spine lines next.
The top of the book cover on the top stacked book must also be drawn, as well as the curved tops of these spines.
To create the book pages, simply draw a few lines.
See more about


More Stories
Is Kinetic Sand Toxic? All You Want to Know
Children older than three are best suited to use kinetic sand. In essence, you want to be sure that even...
How Long is a Toilet Paper Roll? Everything You Need to Need to Know
To begin with, how long is a toilet paper roll? The typical toilet paper roll is approximately four and a...
How To Make Playdough Softer? Have A Try
Each and every person enjoys playing with playdough, regardless of age. Everyone enjoys using playdough to create forms and sculptures,...
How To Make Playdough Soft Again? Easy Ways
Play-Doh becomes hard, flaky, and challenging to work with when it dries out. The putty is made up of of...
How To Draw A Star? An Easy Step-by-step Guide
Anyone would be familiar with a star because we have all seen them in the night sky. Even though we've...
How To Draw A Fish In An Easy Step-by-step Guide?
A simple drawing project is How to Draw a Fish, which includes step-by-step instructions. Learn the fundamentals in this simple...